Grout


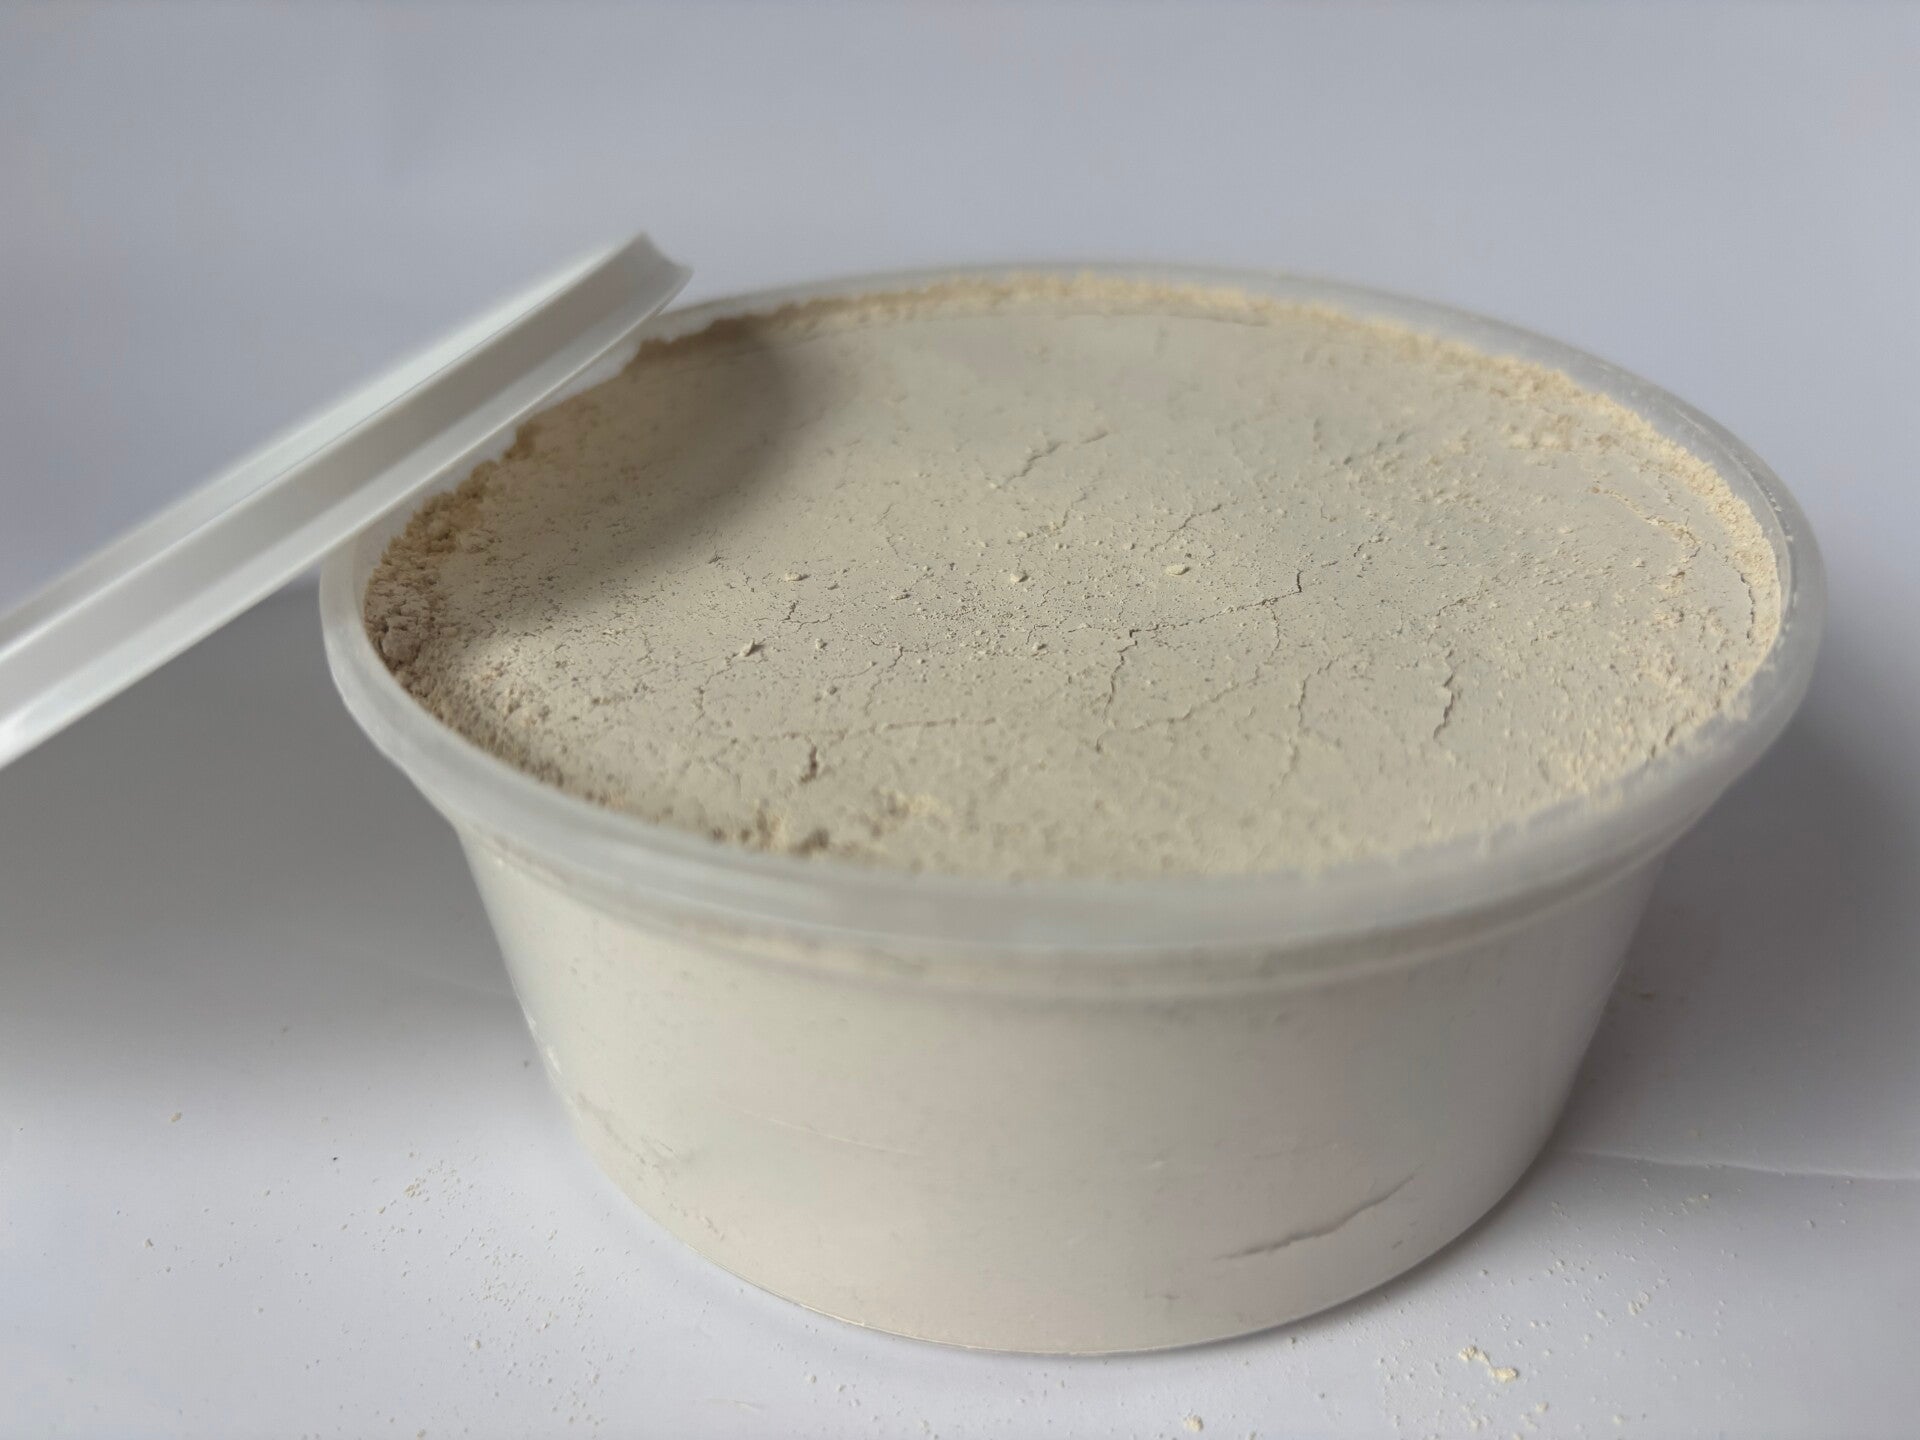
Add Realistic Texture and Depth to Models with Colored Grout
Are you looking to elevate your model-making creations from flat to fantastic? Beyond just painting, one of the most effective ways to introduce incredible texture and realistic depth to elements like model walls, rock formations, and scenic bases is by using colored grout. Often overlooked in the hobby world, grout offers an unparalleled ability to mimic natural surfaces, and with a spectrum of colors available, the possibilities for customization are endless.
Why Choose Colored Grout for Your Models?
-
Unmatched Realism: Unlike paint alone, grout provides a granular, tactile finish that perfectly replicates the rough, porous surfaces of stone, concrete, and soil. This immediately adds a sense of authenticity to your models.
-
Enhanced Definition: When applied to sculpted details, the grout fills in crevices and highlights raised areas, naturally enhancing the definition of bricks, cracks in rocks, or the ruggedness of a cliff face.
-
Seamless Integration: Colored grout allows you to choose shades that complement or contrast with your base colors, creating a more cohesive and visually appealing result. For instance, a dark grey grout can emphasize the individual stones in a castle wall, while an earthy tone can blend seamlessly into a rocky outcrop.
-
Durability: Once dry, grout provides a hard, durable surface that protects your underlying model and resists chipping, making your creations more robust for display or handling.
How to Use Colored Grout in Model Making
Using colored grout is straightforward and can dramatically improve your models.
-
Preparation: Ensure your model surface is clean and dry. You might want to apply a base coat of paint first, depending on your desired final effect.
-
Mixing: Mix the powdered grout with water according to the manufacturer's instructions to achieve a consistency similar to thick paste. Adjust water gradually to avoid making it too runny.
-
Application: Apply the grout directly to your model using a small spatula, old brush, or even your finger (wearing gloves is recommended). Work it into all the cracks and over the surfaces you want to texture.
-
Texturing: While the grout is still wet, you can further refine the texture. Use tools to create specific patterns, dab it with a sponge for a pitted look, or drag a brush for striated effects.
-
Clean-up: Once the grout has slightly set, use a damp cloth or sponge to gently wipe away any excess from areas where you don't want texture, such as windows or delicate details.
-
Drying & Sealing: Allow the grout to dry completely, which can take several hours depending on thickness. Once dry, you can further paint or weather your textured surfaces. Consider sealing with a matte varnish for added protection.
Popular Colored Grout Choices for Modelers
The range of grout colors available is surprisingly vast, allowing you to achieve diverse effects:
-
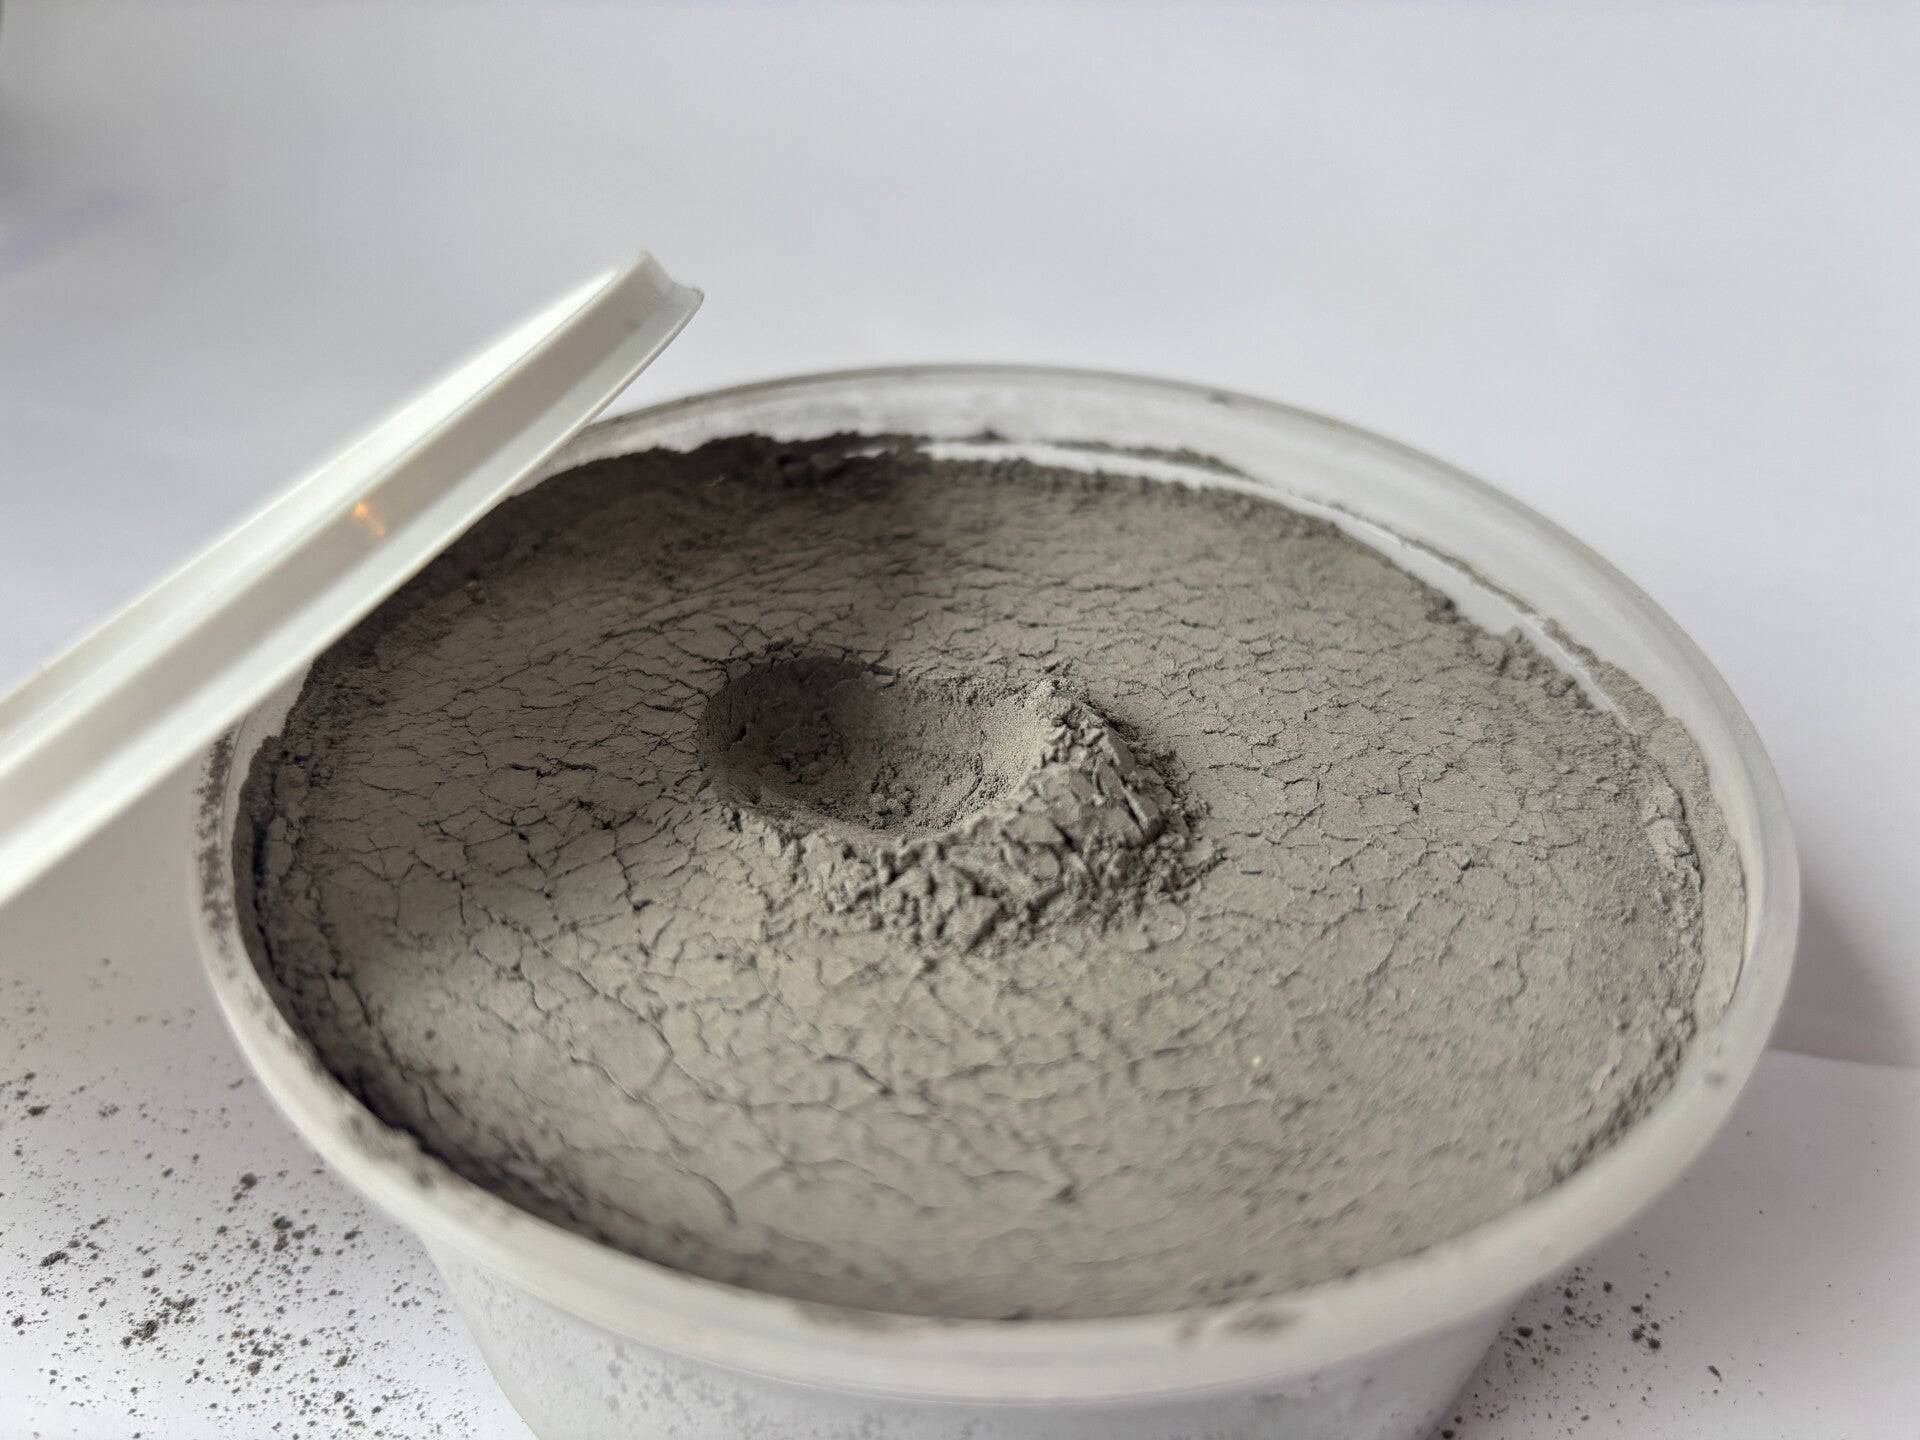
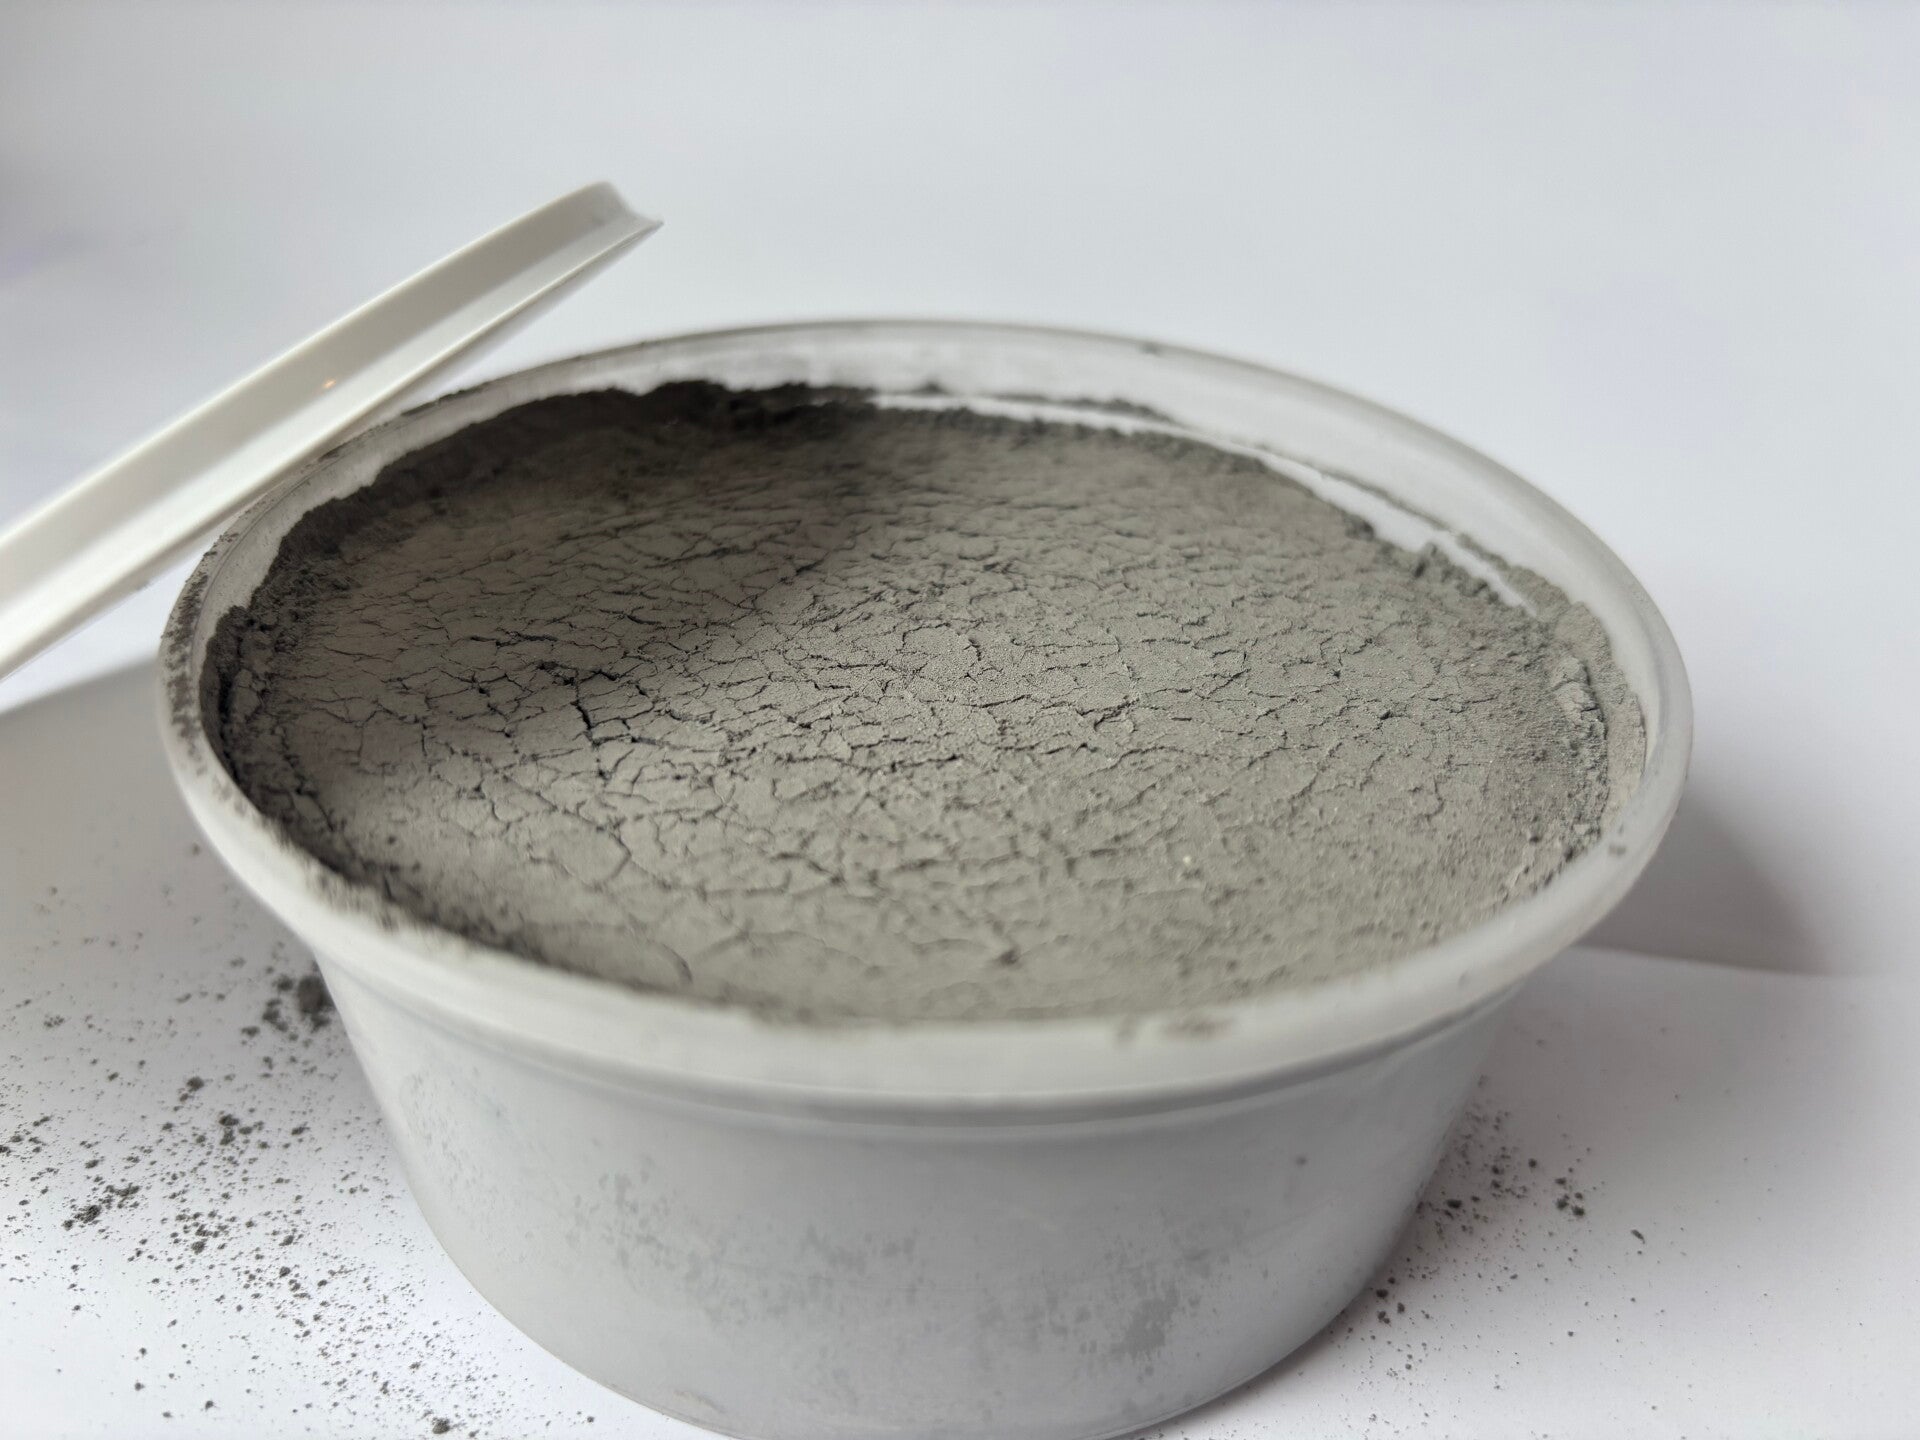
Greys (Light to Dark): Perfect for stone walls, concrete structures, asphalt roads, and adding shadows to rock faces.
-
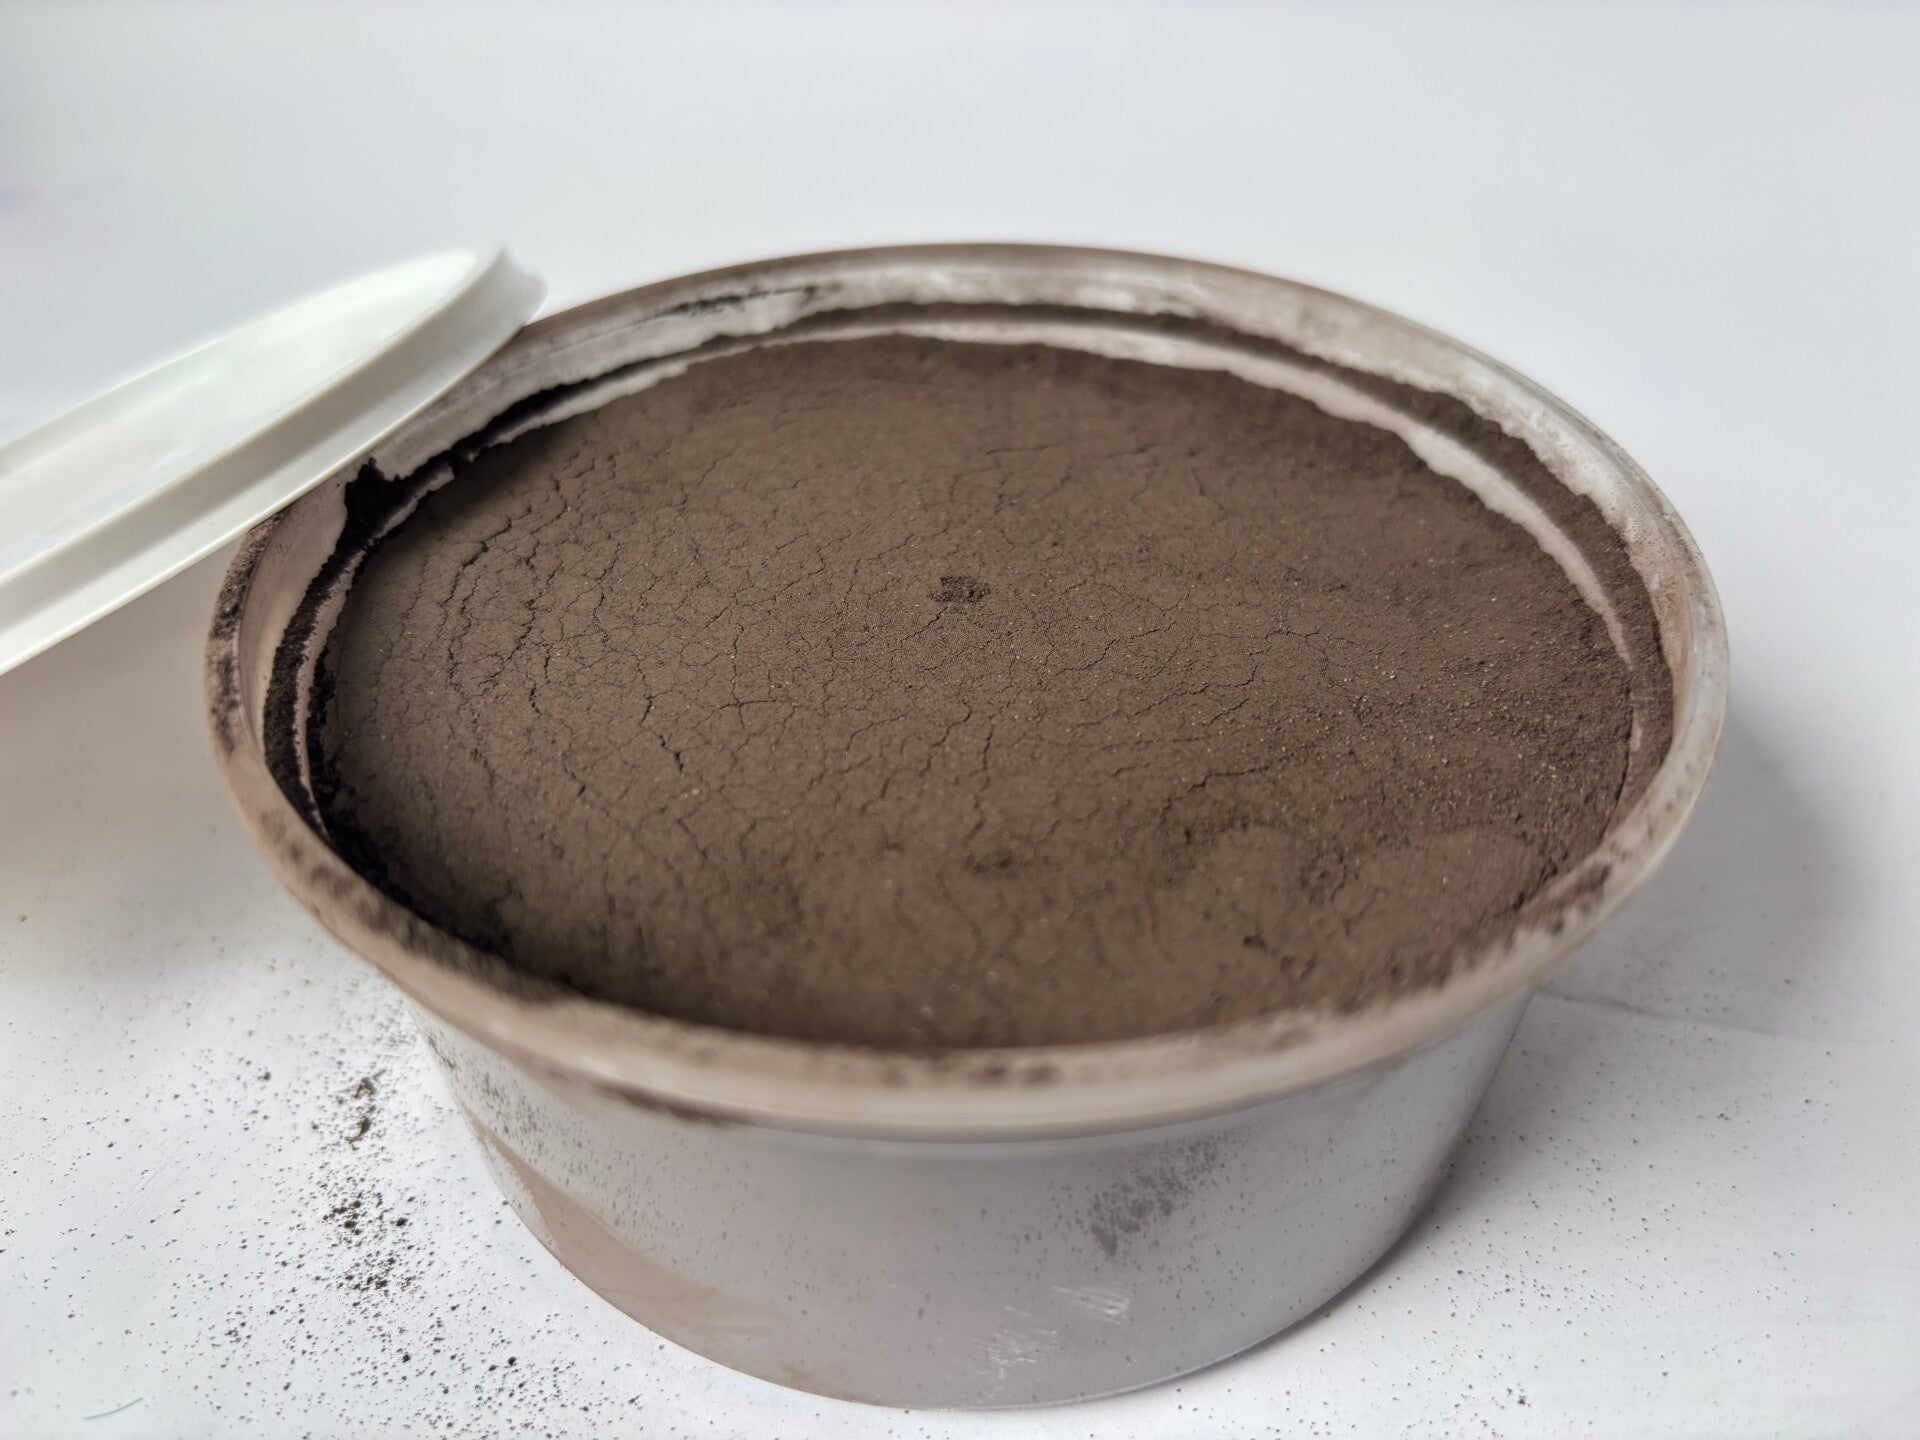
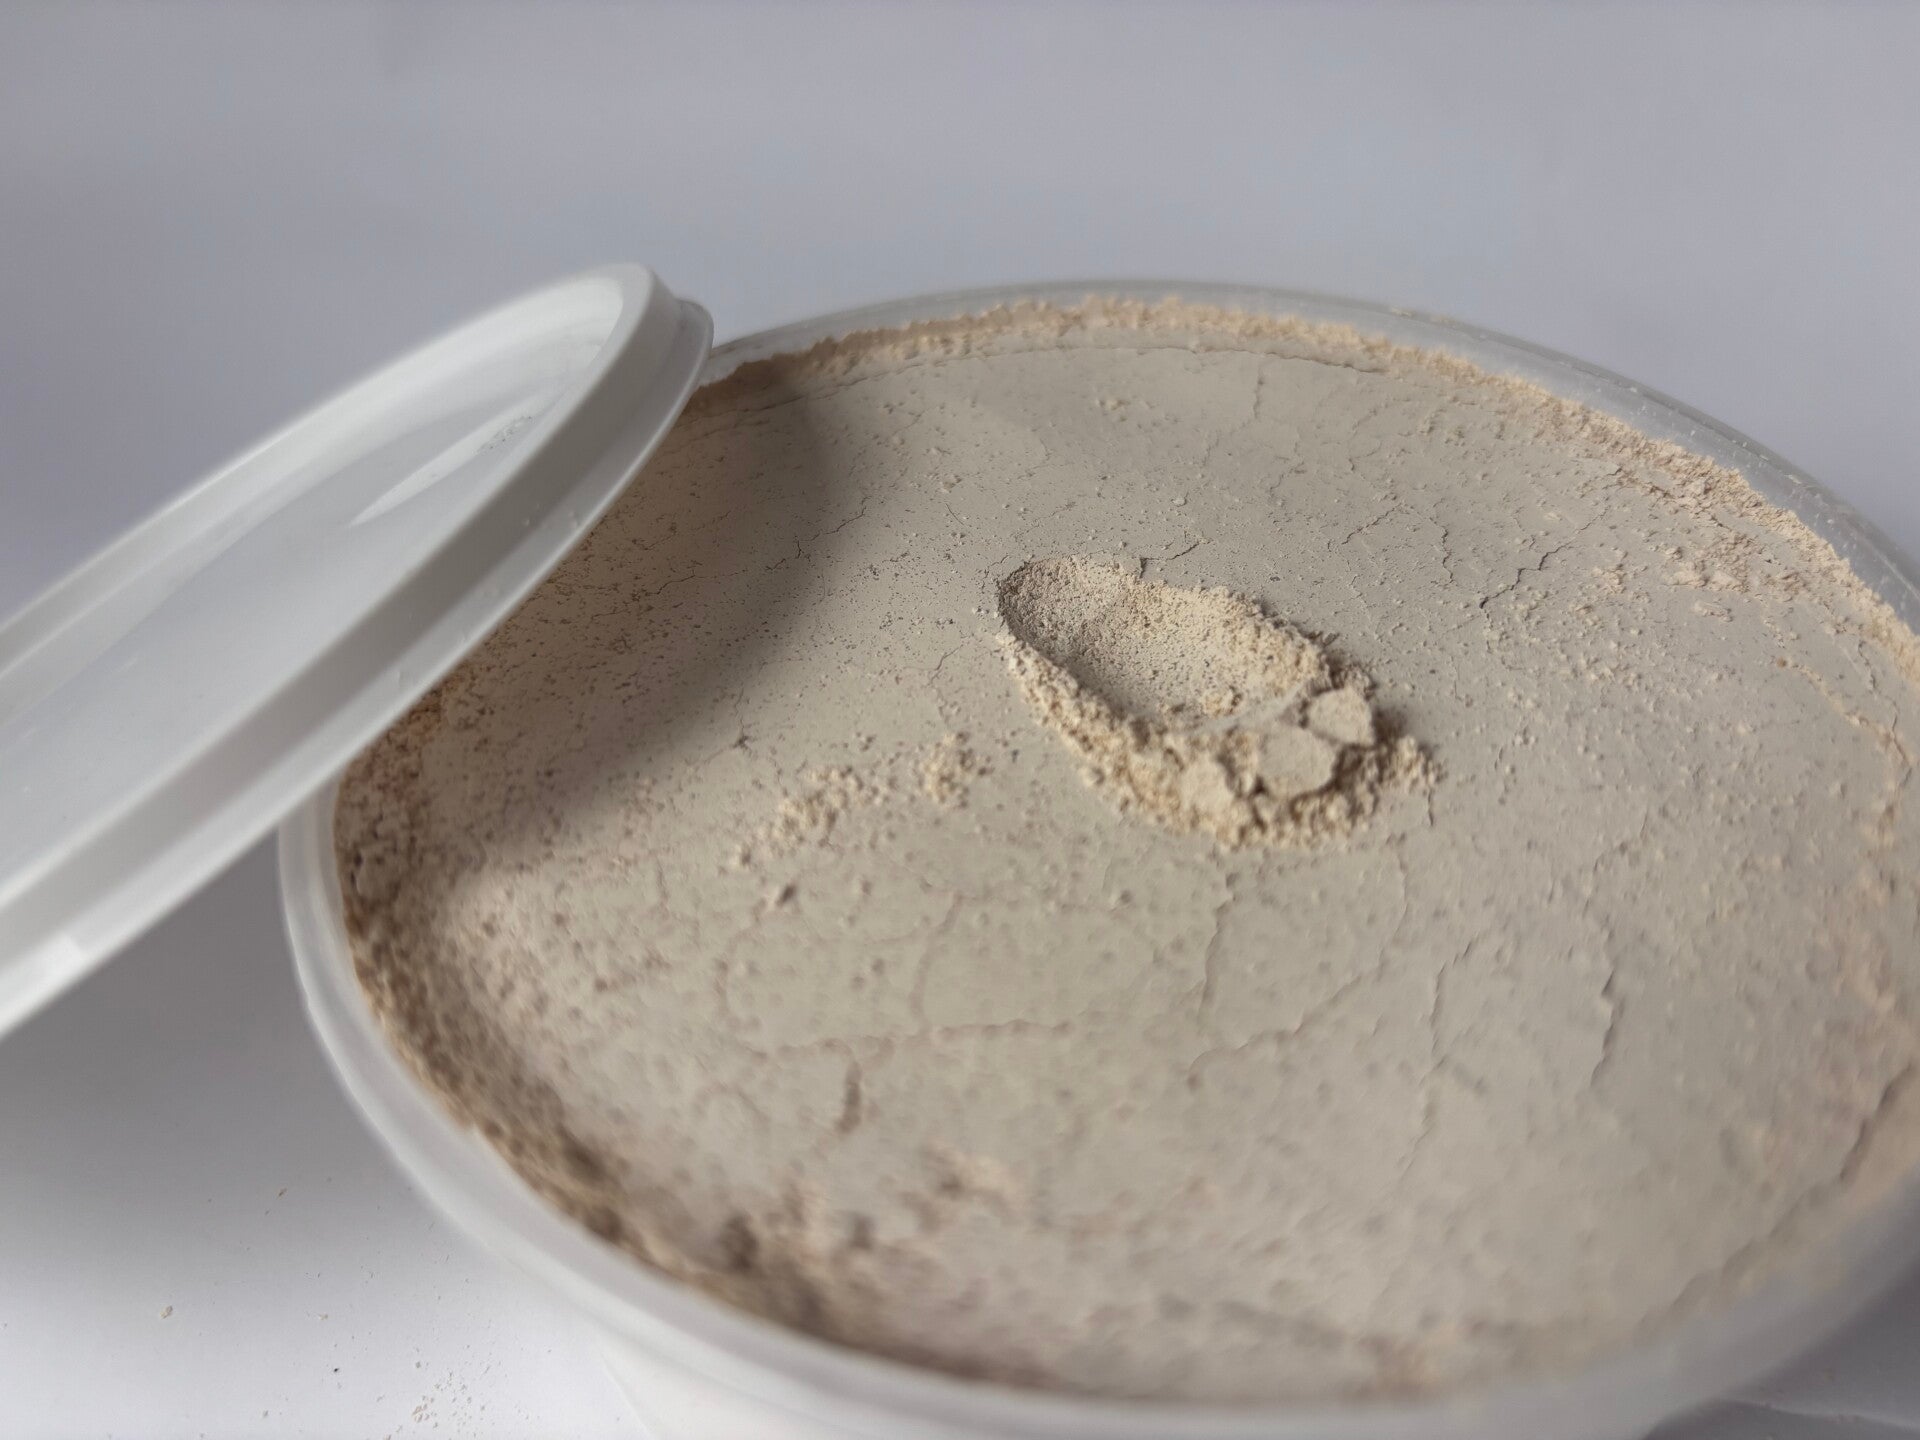
Browns & Earth Tones: Ideal for soil, mud, weathered wood, natural rock formations, and rustic brickwork.
-
Terracotta/Red: Excellent for creating brickwork with character or specific rock types.
-
Black: Can be used for dark, dramatic rock formations or as a deep shadow effect.
Experimenting with different grout colors and application techniques will unlock new levels of realism and detail in your scale models and dioramas. Give it a try and see the incredible difference it makes!